Operation
Light Source
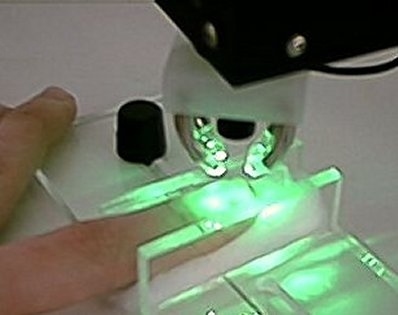
An array of high intensity light emitting diodes (LEDs) within the lens provides the illumination for the imaging of the capillaries. The brightness of the LED array is adjusted by the CAMDAQ module and is controlled by CapiScope.
CapiScope will set the LED brightness to maximum when the camera is running. CapiScope automatically adjusts the exposure duration to maintain image brightness. Brightness can be controlled manually if the “Auto” control is unchecked.
For lowest image sensor noise, use a gain setting of 1, and contrast slider at zero. If the exposure limits out or a shorter exposure is desired to increase the sharpness of moving red blood cells, first increase the gain setting in the drop-down box below the video input sliders. To reduce the exposure some more, increase the contrast slider. High contrast settings will introduce noticeable image sensor noise.
Positioning and Focusing
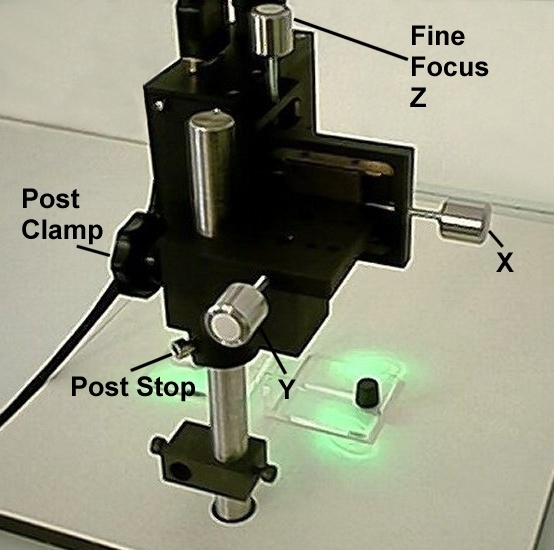
Approximately adjust the three micropositioners to their midway position. Adjust the post stop
Always make sure the post clamp is clamped, before loosening the post stop.
Fine focusing is achieved using the ‘Z’ micropositioner. The focal point is about 5 mm below the bottom of the standard lens. X and Y movement is achieved using the ‘X’ and ‘Y’ micropositioners. The standard micropositioners provide about 10 mm of travel in each axis.
Initial Checks
Switch on the laser. If a loudspeaker is connected there is likely to be a lot of loud noise. This is primarily laser noise caused by the strong reflection from the static object back into the laser cavity. There should be no noise on removal of the object. Any movements, such as tapping the workplatform, should also produce a signal.
Environment
All environmental and subject preconditioning protocols recommended for Laser Doppler Perfusion measurements should be considered. Capillary blood flow is influenced by many factors so it is best to control as many known influences as possible. These include:
using a temperature controlled room,
acclimatising the subject for a set period before any measurements are taken,
prohibiting the intake of coffee or smoking before or during a measurement,
reducing stress,
using a consistent position: supine, sitting or standing, To reduce movement artefacts it is best to have the subject laying in a supine position.
Holding the Finger
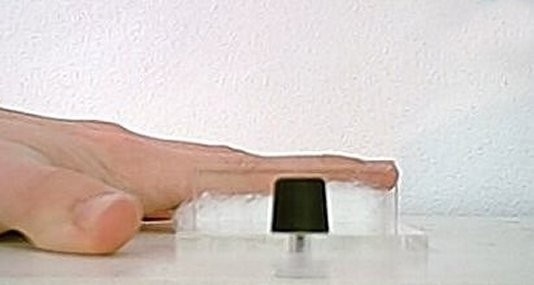
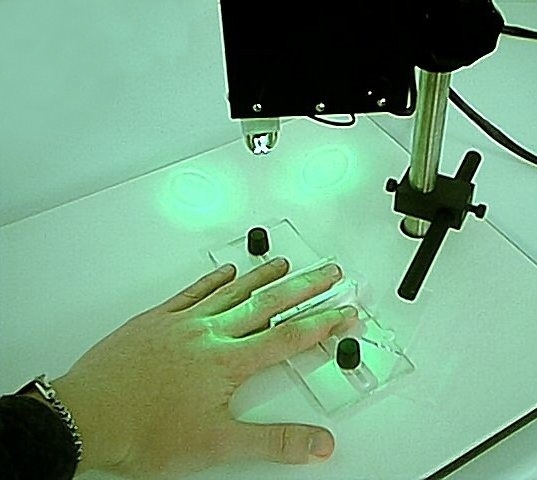
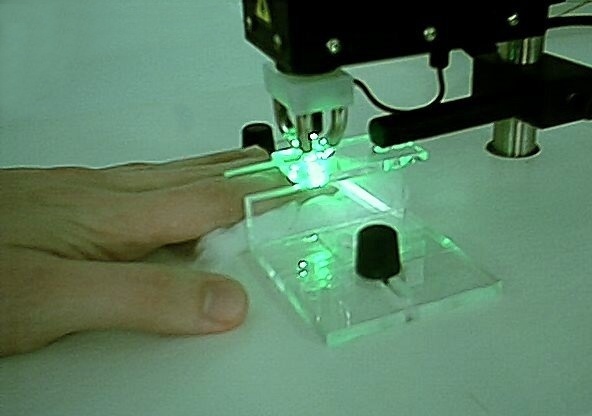
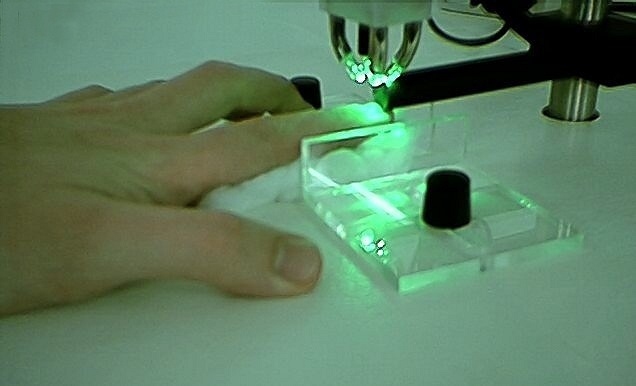
Place wadding under the finger to bring the top surface above the edges of the finger vice.
To help reduce unwanted movement during a recording, place double sided adhesive tape to both sides of the finger vice.
Push the sliding jaw of the finger vice to clamp the finger in position. Avoid applying too much pressure which will occlude blood flow.
Using adhesive pads
Locate the desired position and then rotate the to one side by loosening the post clamp. Always make sure the post stop is secure first before loosening the post clamp. Apply a double sided adhesive pad either to the skin, or to the underside of the plastic plate on the end of the restraint arm.
Lower the restraint arm so that the plastic plate makes contact with the finger. Some pressure may be needed to get the adhesive to stick to the skin surface, but once it has stuck, avoid applying too much downward pressure when the restraint arm is clamped.
Using Nail Glue
For measurements close to the nailfold, movement can be reduced by gluing the fingernail to the restraint arm. One end of the restraint arm has been shaped to fit the curved surface of the finger nail. Apply one very small drop of ‘nail adhesive’ (Ethyl Cyanoacrylate) onto the finger nail. Lower the restraint arm down so that the shaped end of the arm is in contact with the finger nail. After about 20 seconds, a very strong bond will have formed. Carefully apply acetone to release the glue after the experiment. It may take several seconds for the acetone to weaken the bond.
Avoid acetone contact with the skin.
Rotate the back into position.
Make sure the subject is comfortable and that the whole arm is well supported to reduce unwanted movements.
For imaging nailfold capillaries, position the finger with the illumination pointing at right angles to the finger. When the light is incident from the finger tip, there will be too much surface reflection from the curved surface.
Surface Preparation
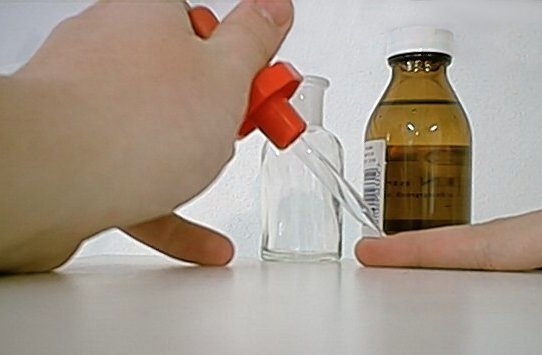
Place a drop of liquid paraffin onto the finger to reduce surface reflections. Make sure that the liquid paraffin is at skin temperature to avoid any unwanted physiological disturbances to blood flow. Although some workers have used clear nail varnish this has been found to give a strong surface reflection of the laser. Also the cooling effect of the evaporating solvent could have an effect on capillary flow. The disadvantage of the paraffin oil is that it seems to be absorbed by the skin, and needs replenishing during a long measurement. It is also possible to use olive oil.
This surface preparation is only for the benefit of the video image, it is not necessary for the CBV measurement. If there is a lot of noise during a measurement, try adding more oil to give a thicker layer so that surface reflections are further from the focal point (i.e. weaker).
