Example Capillary Measurement SOP
Plug the CapiScope HVCS USB plug into the laptop.
For the CapiScope Select Profile box click OK
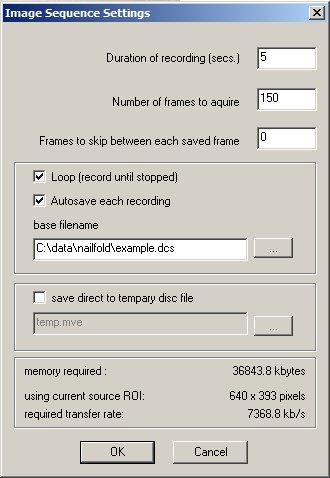
Enter a new base filename and path for recordings. (Use the
 browse button at right to browse and create new folders).
Click OK
Focus using focus ring (sublingual) or top positioner (nailfold) and adjust brightness.
Repeat 9 and locate measuring site.
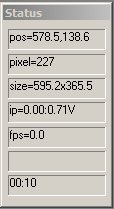
Watch time elapsed as shown in bottom line of the status box.
Press the pause button to stop recording.
Goto 8 to start next recording with the same base filename.
Analysing Video
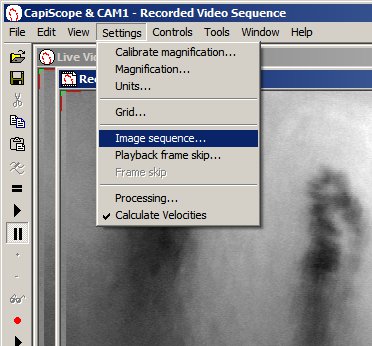
Open the video file.
Press the lower
 play button, or drag the horizontal
scrollbar to the first good image in focus.
play button, or drag the horizontal
scrollbar to the first good image in focus.Select menu edit, duplicate image in new window.
Press
 measurement button to show the dimension line
buttons.
measurement button to show the dimension line
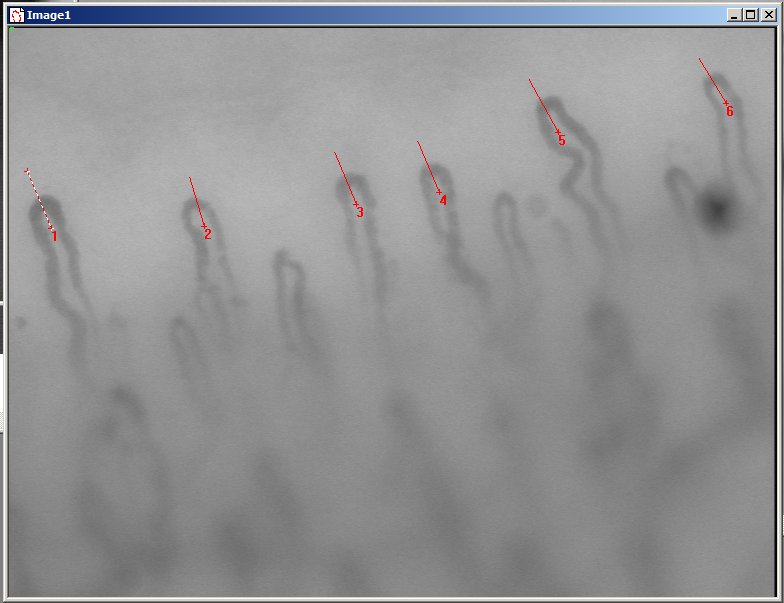
buttons.Draw vessel diameter measuring lines across apex of each capillary in final row.
Press TAB key until first dimension line is highlighted.
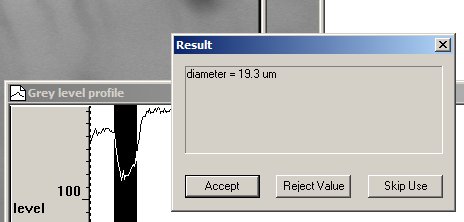 Press accept ( or return key )if the greylevel window
shows a clean “V” and the sides of the V have been detected ok.
Press accept ( or return key )if the greylevel window
shows a clean “V” and the sides of the V have been detected ok.Repeat 7-9 for the remaining capillaries.
Save the Image with the dimension lines.
Save the Diameter Calculation Results.
Go back to the video file.
Use Tools, Automatic Movement Correction.
Press <ctrl> l to play the recording in a continuous loop.
Draw a dimension line on the first capillary in the final row. Draw the line in the direction of flow.
Use Window, Linescan to open the linescan window.
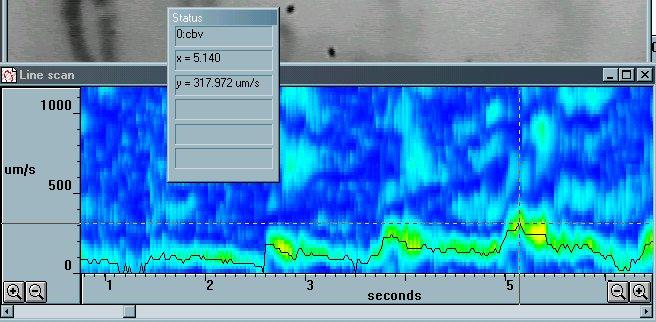 This will produce a velocity trace in the linescan window
as a black line.
This will produce a velocity trace in the linescan window
as a black line.Select a portion or all the trace for averaging by dragging while holding down the left mouse button.
Use the TAB key to step through the different traces in the linescan window until the status box top line shows 0:cbv. (capilllary blood cell velocity)
Press = button or = key to get the average cbv.
Activate the video file window and press TAB to activate the dimension line. Press delete to delete it.
Repeat steps 15-17, 19-24 for each other capillary to measure in the final row.
Save the chart results window with the cbv averages.

