Capillary Density Analysis
Analysing Video
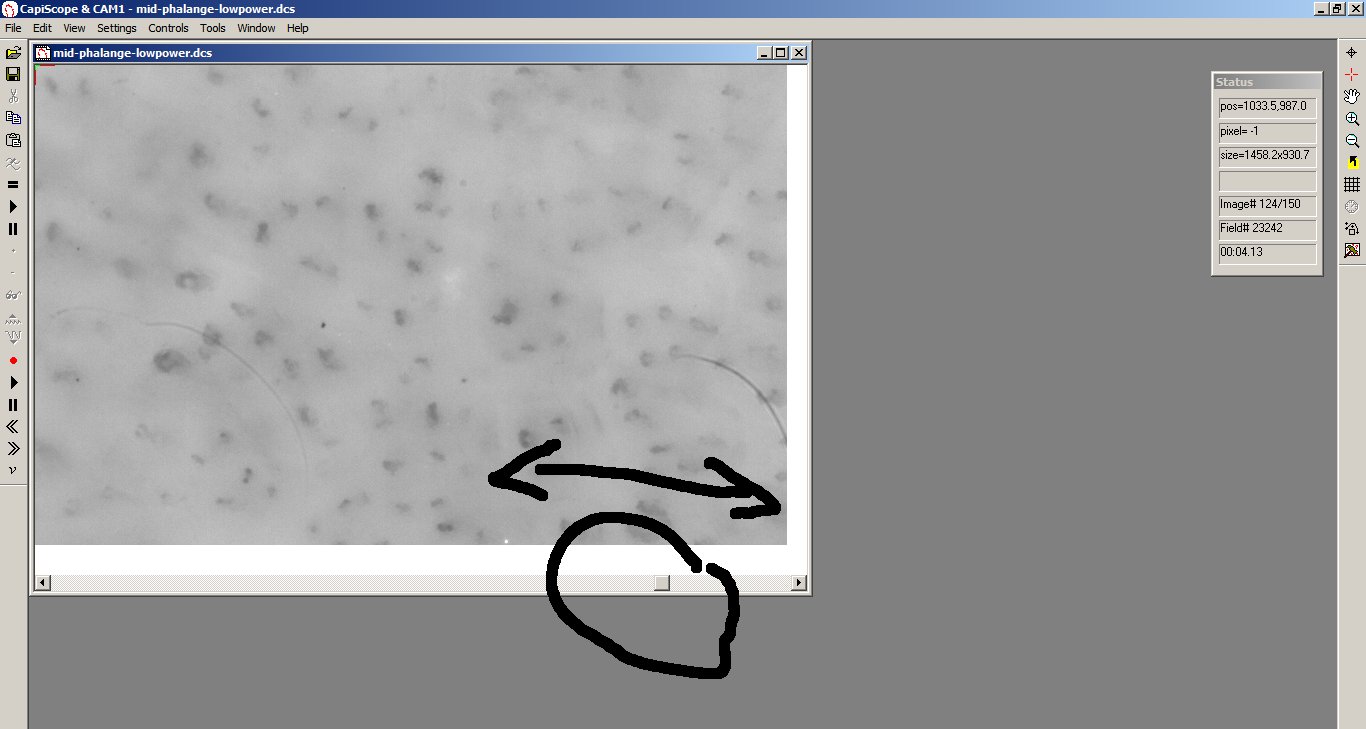
Open the video file.
Press the lower “play” button, or drag the horizontal scrollbar to the first measurement site and find a good image in focus.
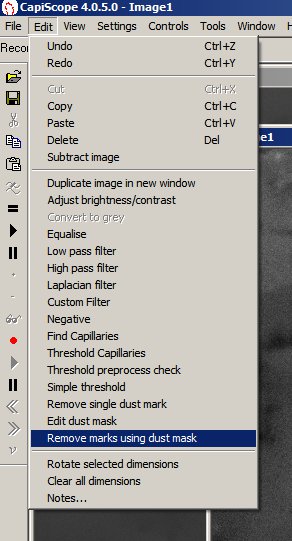
Select menu “edit”, “duplicate image in new window”.
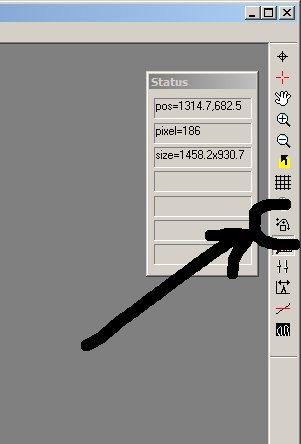
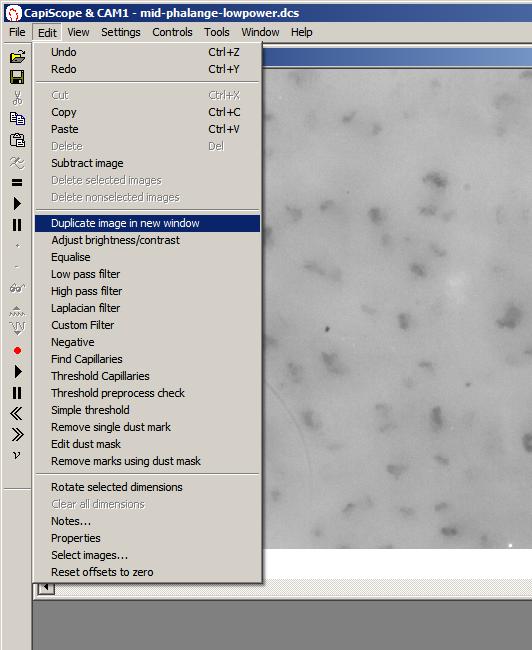 Click on the “tools” button at the bottom of the right
hand toolbar to open up the image processing toolbar buttons.
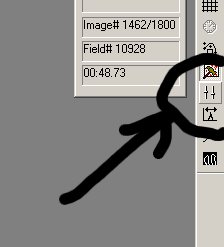
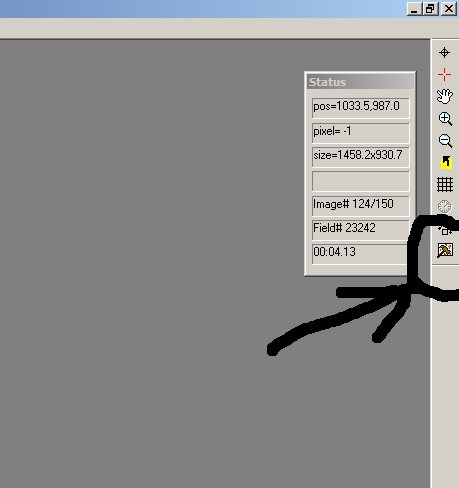
 Click on the “adjust” button to enhance
the contrast of the duplicated window.
Click on the “adjust” button to enhance
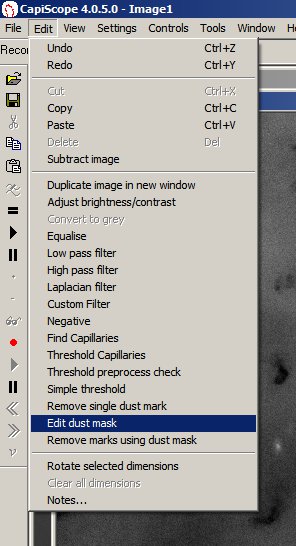
the contrast of the duplicated window.If there are any glare spots or black dirt or part of the central black mark, use the “edit dust mask” option. ( Clear previous mask boxes using Edit “clear all dimensions”. )
Draw boxes around each mark, with the edges of the box on normal background.
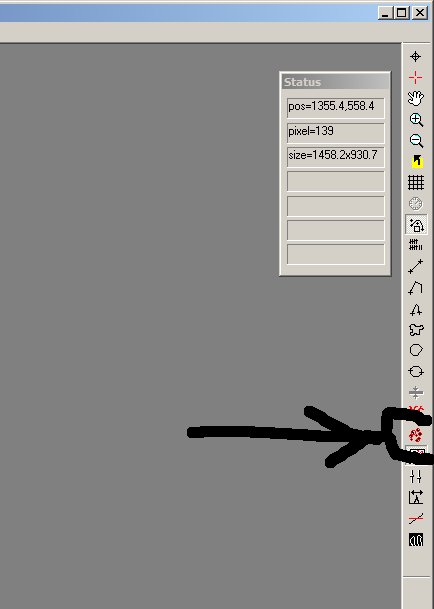
Click on the “measurement” button to open up the dimension measurement buttons.
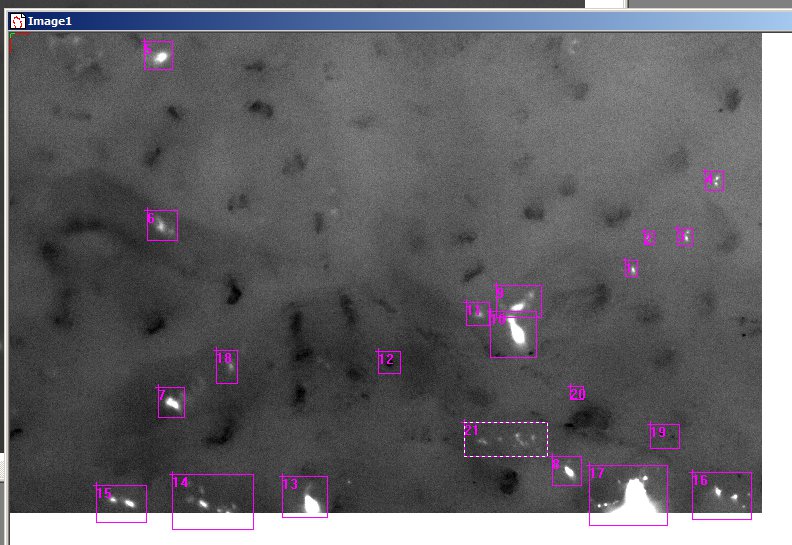
Press toolbar button “find capillaries”.
Check the resultant located capillaries.
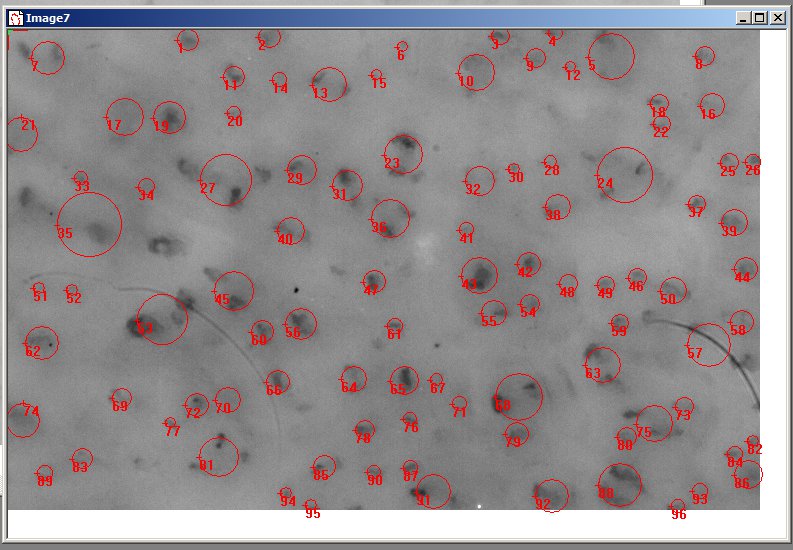 If there are any false small capillaries, its possible
to alter the minimum and maximum detection thresholds.
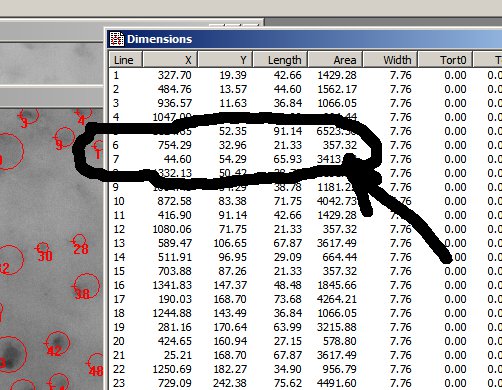
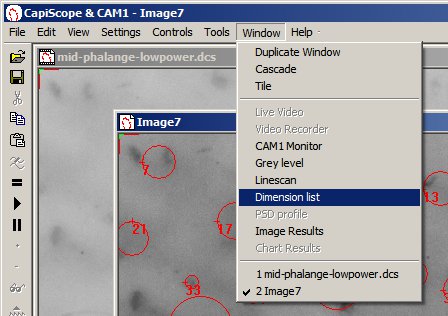 Note the area of the false small capillary from the
Area column of the Dimensions window.
Note the area of the false small capillary from the
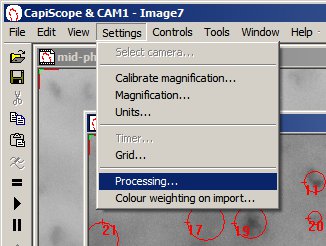
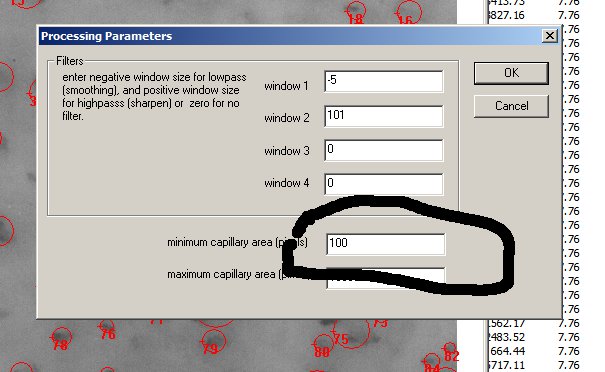
Area column of the Dimensions window.Use menu “Settings”, “Processing” to open the processing settings dialog window.
And enter the minimum area. Delete the duplicated image window and go back to step 2.
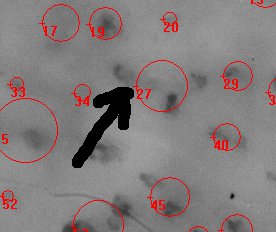
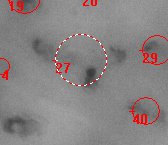
Delete any false positives by clicking on the first node ( the cross by the dimension number) to select it, then press the Delete key. In this example three capillaries have been detected as a single large capillary. You can also use the TAB key to step through each one.
Use the toolbar button “counting” and click on any missed capillaries.
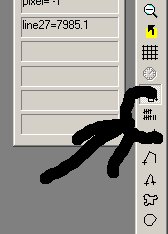
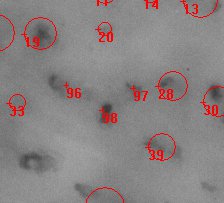 Save with the same name as the video with
N,S,E, or W appended.
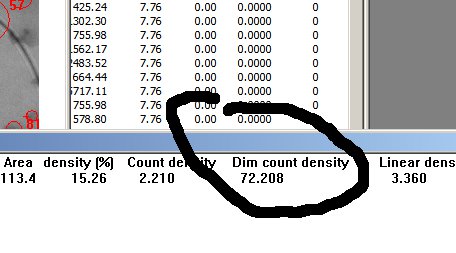
Press “=” key or the “=” toolbar button to get the “Dim count density”.
Use the “play” or scrollbar to find the next measurement area and repeat steps 3 – 15 for each one.
Save the “image results” window, but don’t close it. You will need to use a different filename each session.
To manually count capillaries miss out steps 7 – 13.
