Database
To continue without using the database to organise measurements, click on cancel, or press the escape key.
New Subject
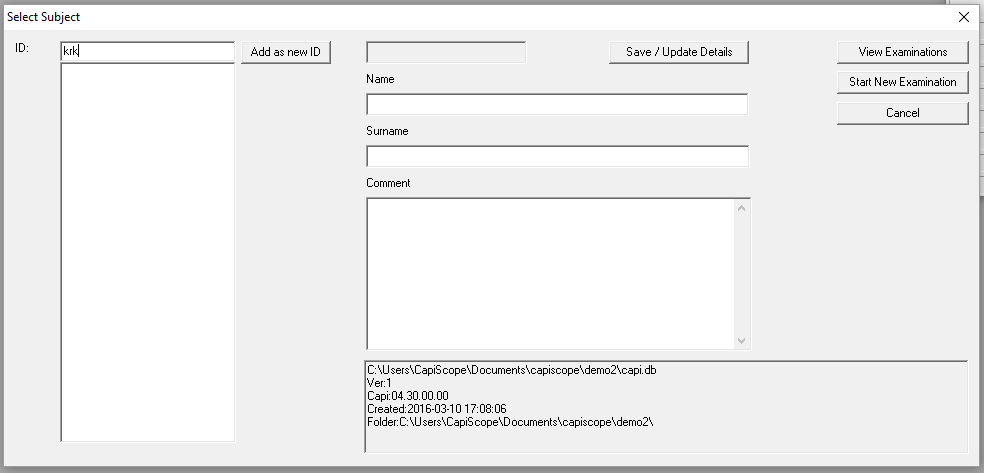
To add a new subject, type a new subject ID. This can be any combination of numeric or alphabetic characters. There is no length restriction. Each ID must be unique.
Click on the Add as new ID button.
Enter Name, Subject and comments fields as desired and click on the Save/Update Details button.
Select Subject
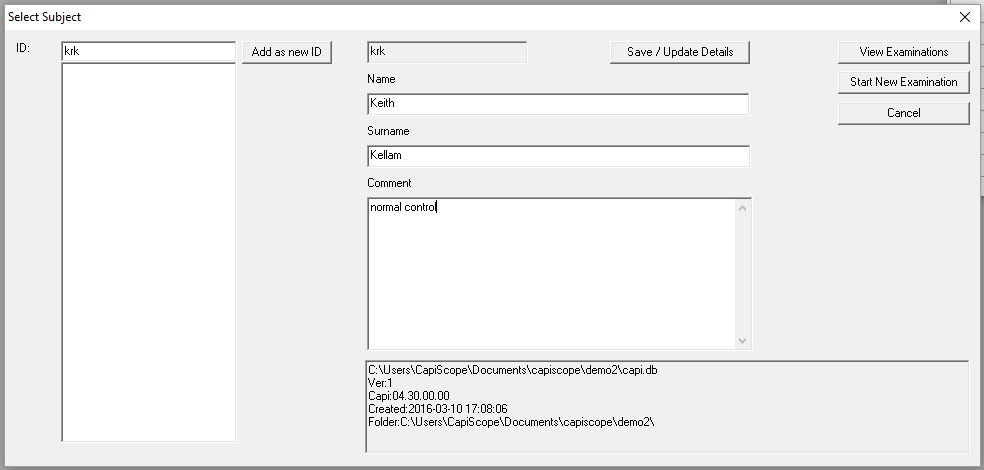
To select a subject, type in the subject ID. As you type the first 20 Ids that match will be listed. Click on the ID from the list to select it.
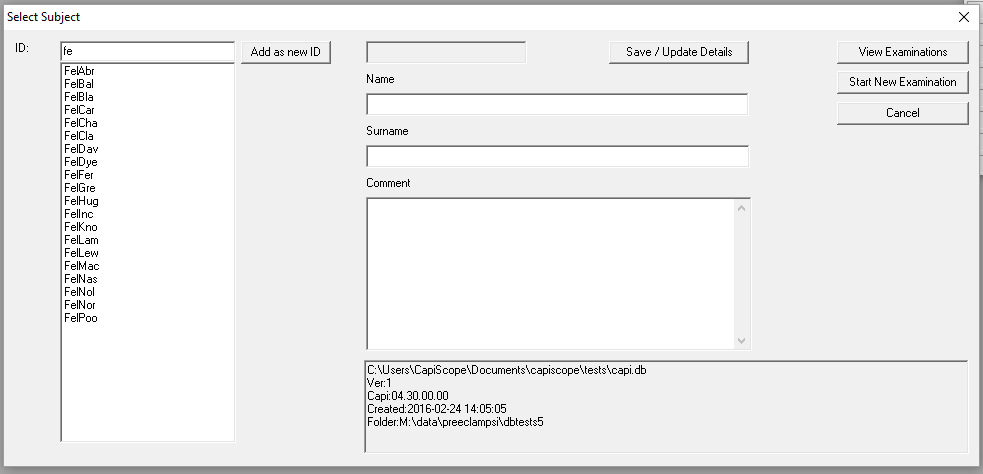
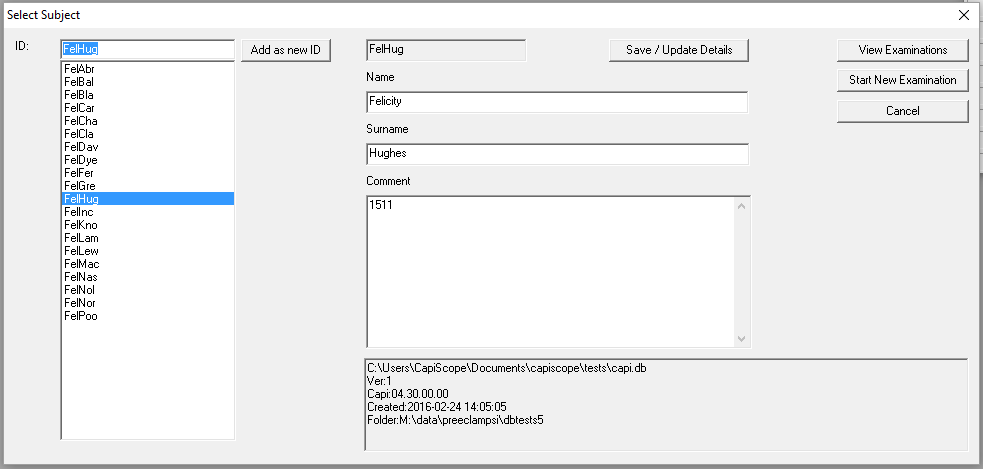
The selected Subject ID will be shown in the top greyed box and it’s Name, Surname, and comments in the boxes below.
Start New Examination |
To create a new examinations folder and start the measurement process. Files and results will be logged in the database. |
View Examinations |
To review previously recorded measurements and results. |
Cancel |
To carry on without using the database. Recordings and measurements wont be logged in the database. |
Start New Examination
New Exam Measurement site
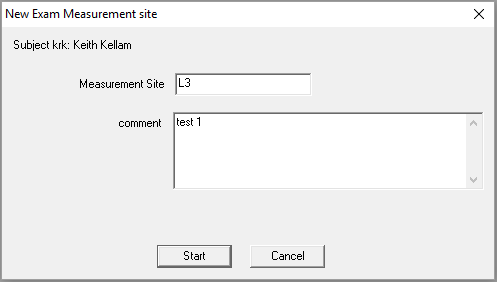
Enter any alphanumeric text for the measurement site. This is used as part of the name of the new folder used for storing files for this examination, and could be used for collating, sorting and analysing results.
There is no restriction on what is used, but it should be meaningful and consistent.
View Examinations
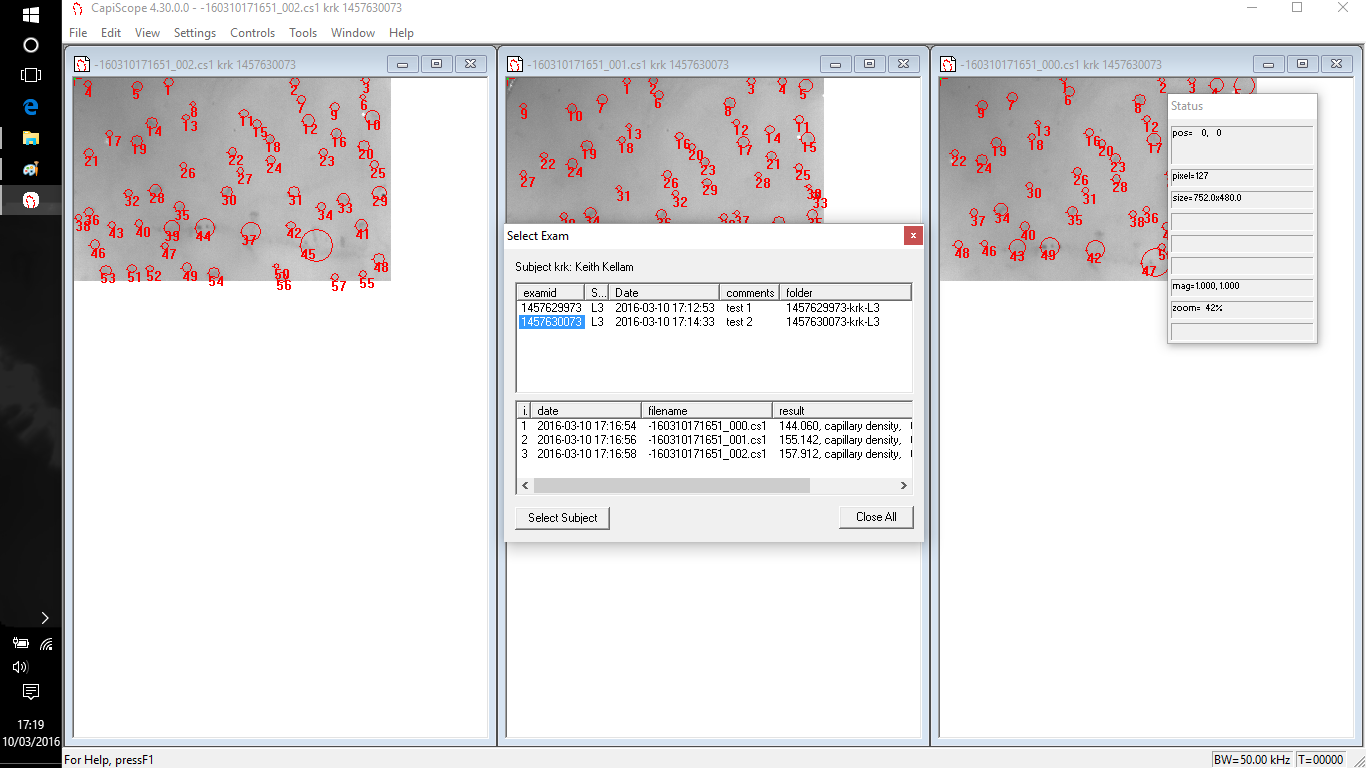
Click on an exam id in the top list to select it. The lower list will be updated to show all files associated with this examination. This will include original images and video and also any files and results produced from them. It also shows the last result calculated for that file.
To update the list after any changes or additions, click on another examid, then reselect this examid.
Click on the ID in the lower list to open that file.
The Close All button will close all document windows. You will be prompted to save any files that have been modified.
Use the Select Subject to go back to the first step and start again. Any open documents will be closed first.
